This chapter covers signing in, finding your way round the editor, and saving your changes. The pictures come from a demo website, so your own site will look different, but the editor works the same way.
Signing in
Go to your website's address with /cms/ on the end, for example https://www.yourwebsite.co.uk/cms/. The sign-in screen opens.
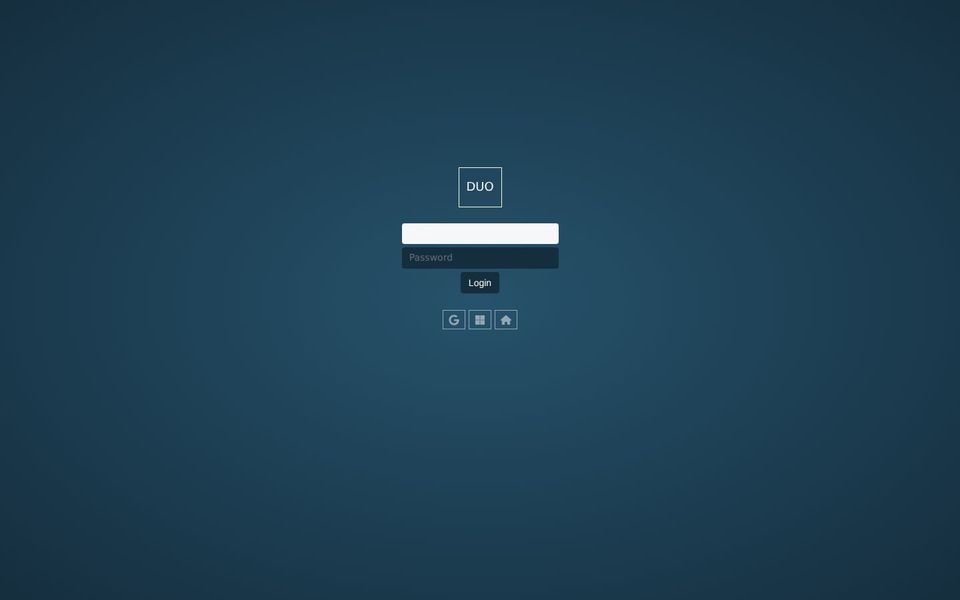
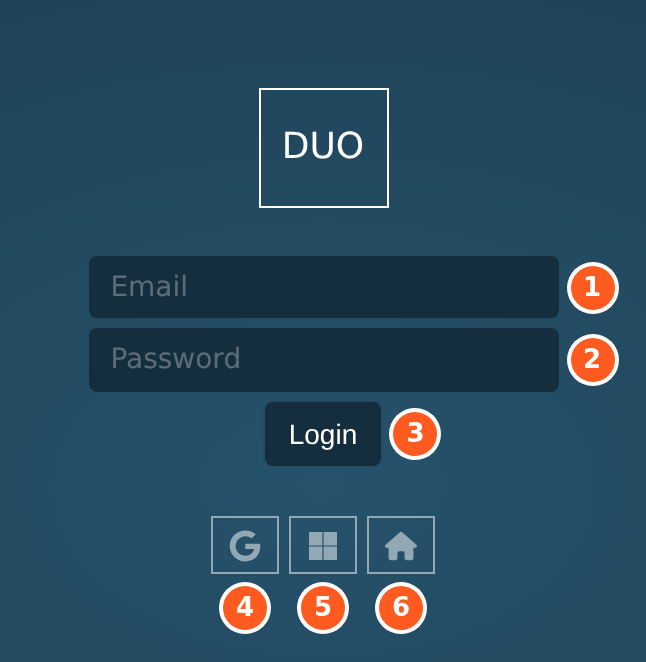
Email: the email address your account uses.
Password.
Login signs you in.
Sign in with Google, if your Google account uses the same email address as your website account.
Sign in with Microsoft, which works the same way for a Microsoft account.
Home takes you back to the website without signing in.
Some websites ask for a security code after your password. The code is either emailed to you or shown in an authenticator app on your phone. Type it in and click Login. If you see a key icon under the form, you can also sign in with a passkey saved on your computer or phone.
If you've forgotten your password, ask whoever looks after your website to reset it.
Finding the editor
Once you've signed in, a thin bar runs down the left edge of every page on your website. Visitors don't see it. Click the bar to open the main toolbar on the page you're looking at.
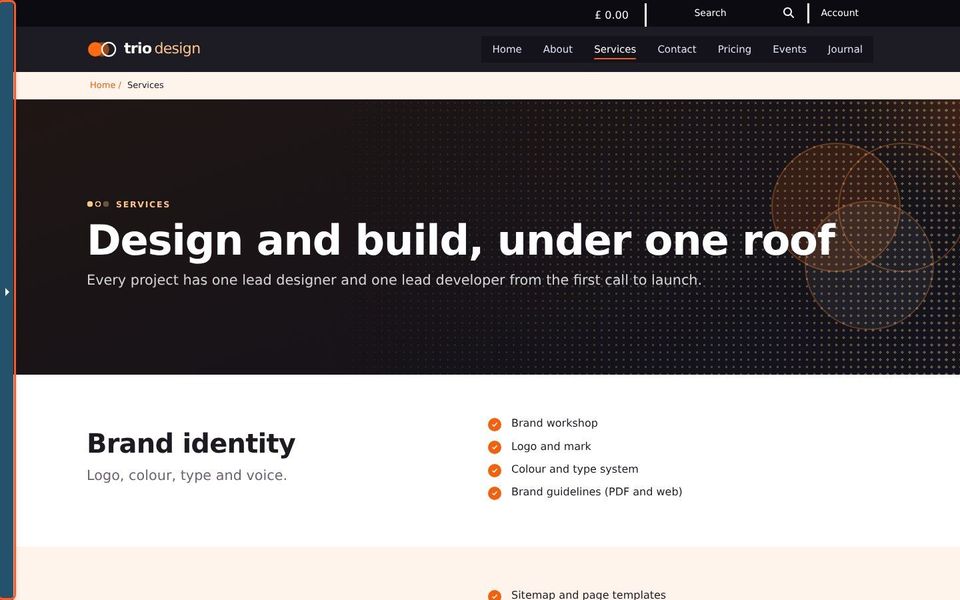
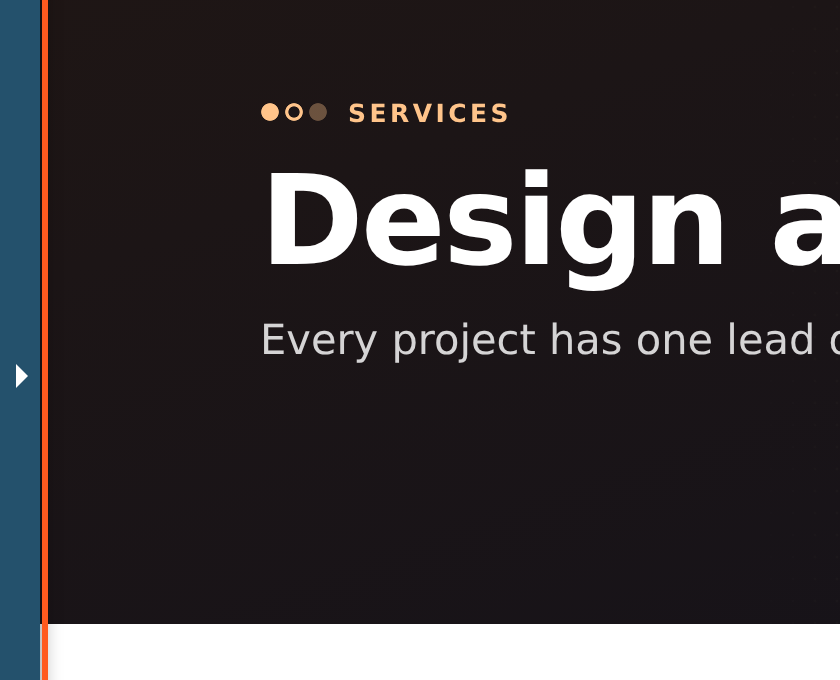
To change a page, go to it on your website first, the same way a visitor would, then open the toolbar.
The main toolbar
The main toolbar runs down the left of the screen. Hover over an icon to see its name.
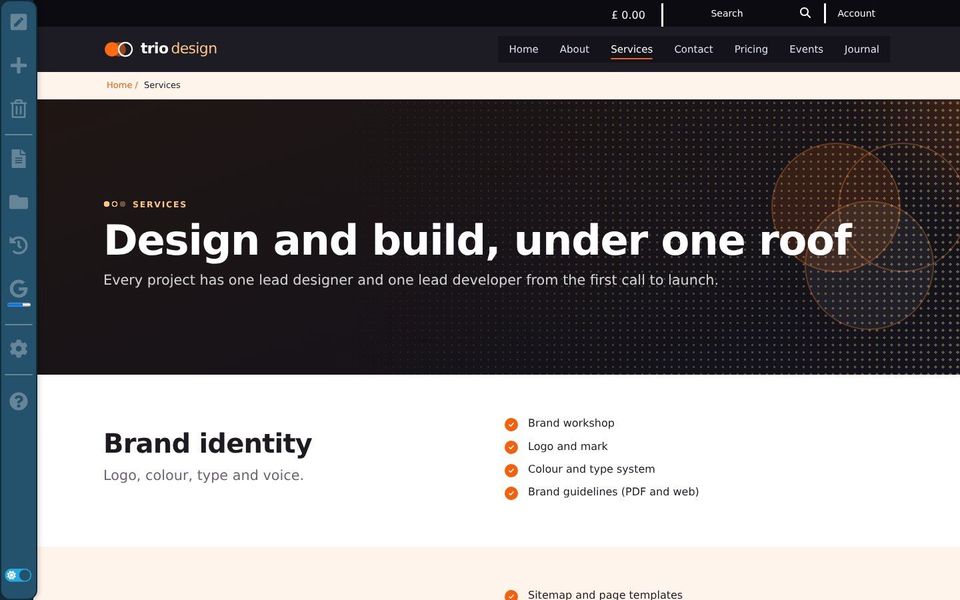

Edit Page opens the page you're on for editing.
Add Page adds a new page to the website.
Delete deletes the page you're on. It asks you to confirm first.
Pages lists all the pages on your website, with the settings for the one you're on, such as its title, its address and whether it's published.
Files opens the file library, where your images and documents are kept.
History lists earlier versions of the page, so you can bring one back.
SEO checks how well the page is set up for search engines. The bar under the icon shows its score.
Options opens a menu of display options and the Logout link. See The Options menu.
Help links to these guides.
The switch at the bottom changes the toolbar between dark and light colours.
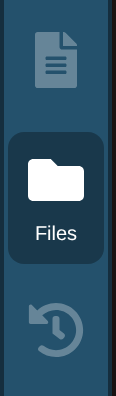
When you hover over an icon, its name appears underneath it.
If an icon is greyed out, your account isn't allowed to use it. Ask whoever looks after your website if you need it.
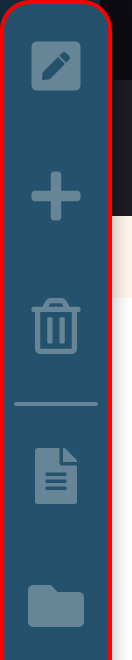
A red border round the toolbar means the page you're on isn't published. Only signed-in editors can see it.
A gold border means you're looking at a draft of the page, not the live version.
The Options menu
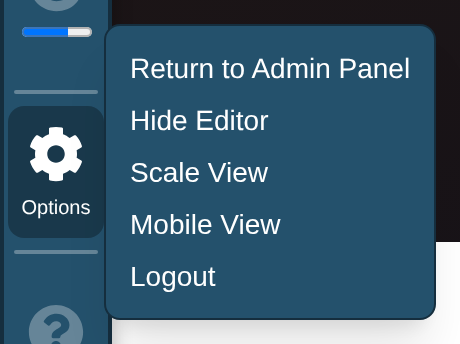
Return to Admin Panel opens the admin area, where you manage things like users, forms and site settings. You only see it if your account can use the admin area.
Hide Editor closes the toolbar. Click the thin bar on the left to bring it back.
Scale View shrinks the page while you edit, so you can see its full width beside the editing panel.
Mobile View shows the page at phone width while you edit, so you can check how it looks on a small screen.
Logout signs you out.
Opening a page for editing
Go to the page on your website.
Click the thin bar to open the toolbar, if it isn't already open.
Click Edit Page, the pencil at the top of the toolbar.
The editing panel opens on the left, and you can now change the page. Click any text and start typing.
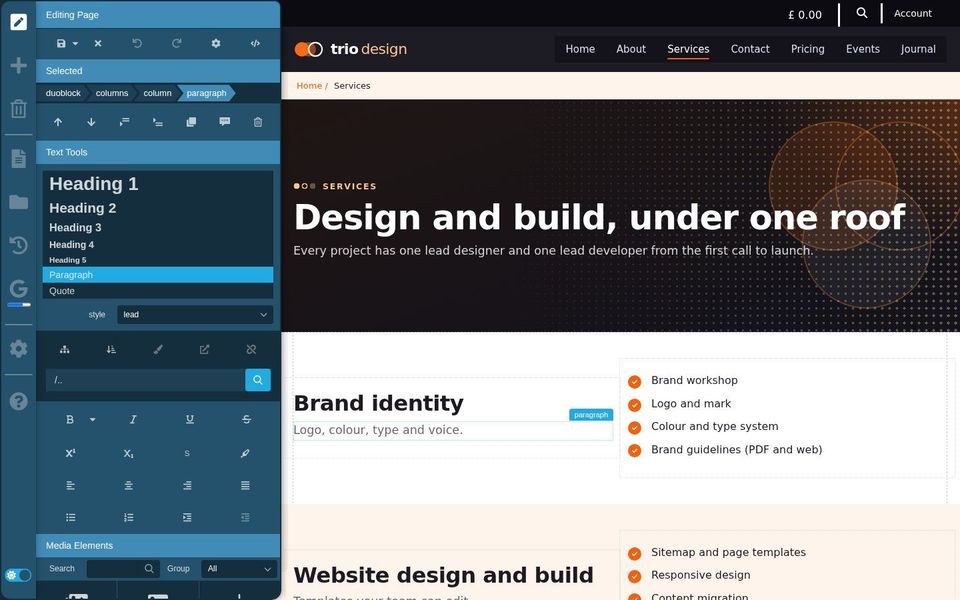
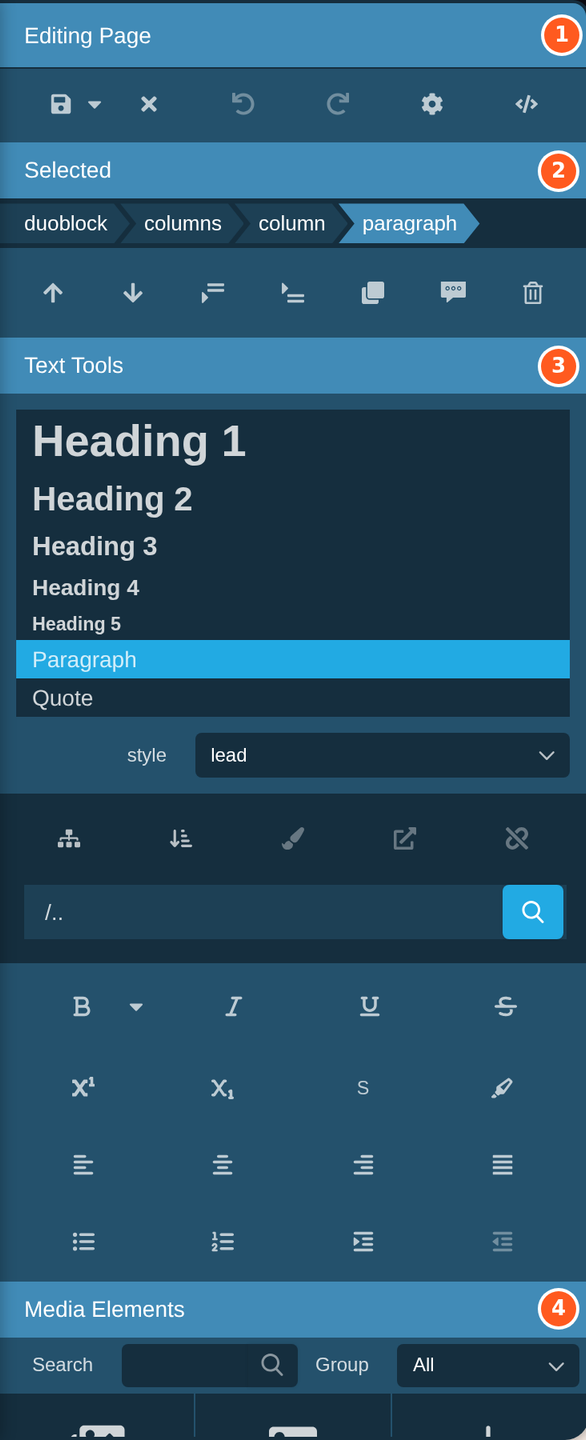
The editing panel has four parts.
Editing Page has buttons to save, close, undo and redo. See Saving your changes.
Selected shows which part of the page you've clicked on, with buttons to move, copy or delete it. The bar of names shows where that part sits on the page. Click a name to select the part around it.
Text Tools has headings, bold, links and lists. It appears when you click on text. If you click an image or another element, that element's own tools appear here instead.
Media Elements lists the things you can add to the page, such as images, videos and columns.
Later chapters cover each part in detail.
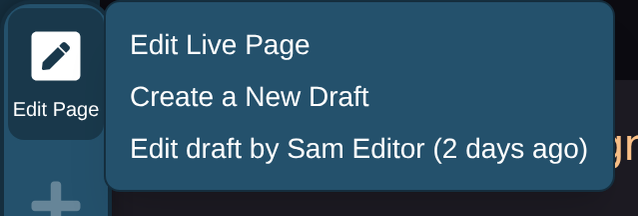
If the page has drafts, Edit Page opens a menu instead. Edit Live Page edits the version visitors see. The other options create or open a draft, which you can change without affecting the live page.
Saving your changes
The buttons at the top of the editing panel save or close the page.
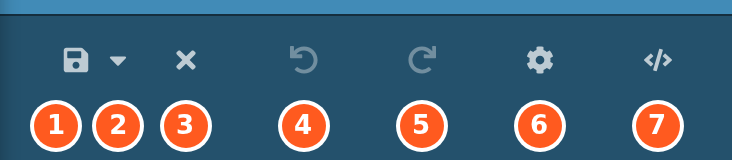
Save saves the page and closes the editor. If the page is published, visitors see your changes straight away.
Save options opens more ways to save. See below.
Close closes the editor without saving.
Undo takes back your last change. You can also press Ctrl+Z, or Cmd+Z on a Mac.
Redo puts back a change you undid.
Page settings shows this page's settings inside the editing panel.
HTML shows the page's code. Only use this if you're comfortable with HTML.
Close doesn't ask before it throws away your changes. If you want to keep what you've done, click Save first.
Save options
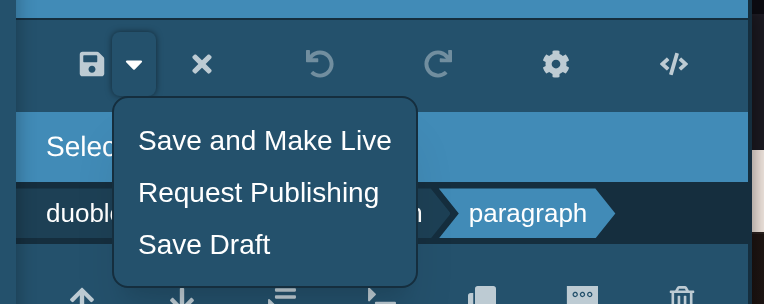
Save and Make Live does the same as the Save button.
Request Publishing saves your changes as a draft and marks it for someone else to check and publish. Use this if your changes need approving first.
Save Draft saves your changes as a draft without changing the live page. The editor stays open so you can carry on.
You only see these options if your account can use drafts.
Getting help
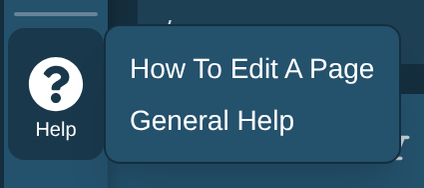
The Help icon at the bottom of the main toolbar links to these guides. Its menu changes with what you're doing. While you edit a page, for example, it links to the guide on editing.
Signing out
Click Options in the main toolbar, then Logout. If you share a computer, always sign out when you've finished.