A snippet is a piece of content you save once and use on as many pages as you like, such as a "Get in touch" box, a customer quote or a team member's card. When you change the snippet, every page that uses it changes too.
Snippets are a newer part of the editor. If you don't see the Snippet tile in Media Elements, ask whoever looks after your website to turn them on.
Adding a snippet to a page
Open the page for editing and drag the Snippet tile from Media Elements onto the page.
The Choose a Snippet window opens. Click the snippet you want. Use Search or Group to find it if there are lots.
Click Insert Reference or Insert Copy.
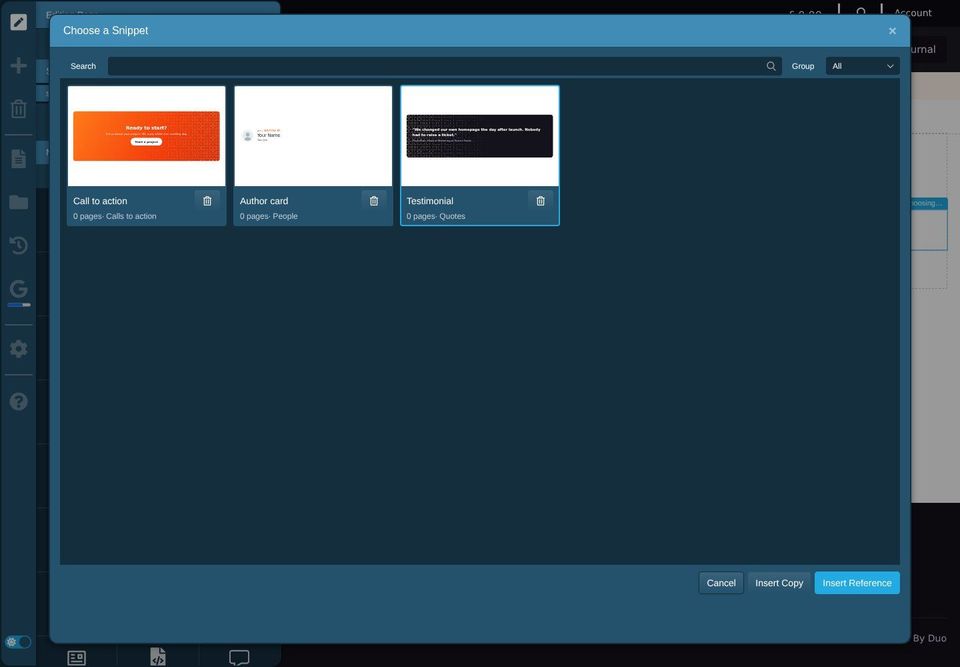

Insert Reference links the page to the snippet. When anyone edits the snippet, this page changes too. Use this most of the time.
Insert Copy puts a separate copy on the page. You can change it freely, and it won't change when the snippet does.
Each snippet in the window shows how many pages use it. The bin deletes a snippet, but only once no pages use it.
The snippet tools
Click a snippet on the page to show its tools. A label at the top right of the snippet shows its name.
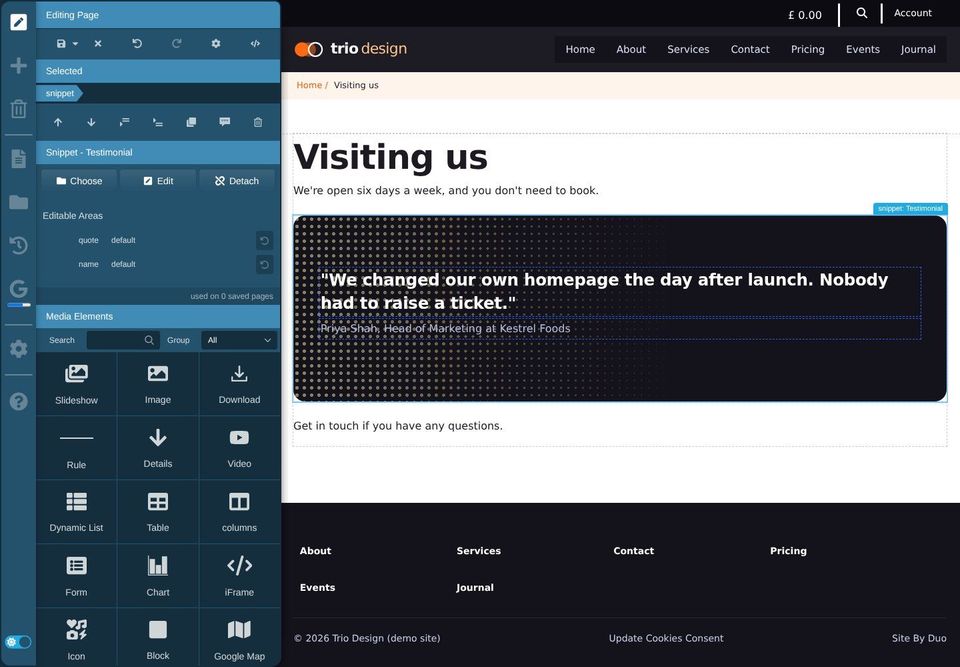
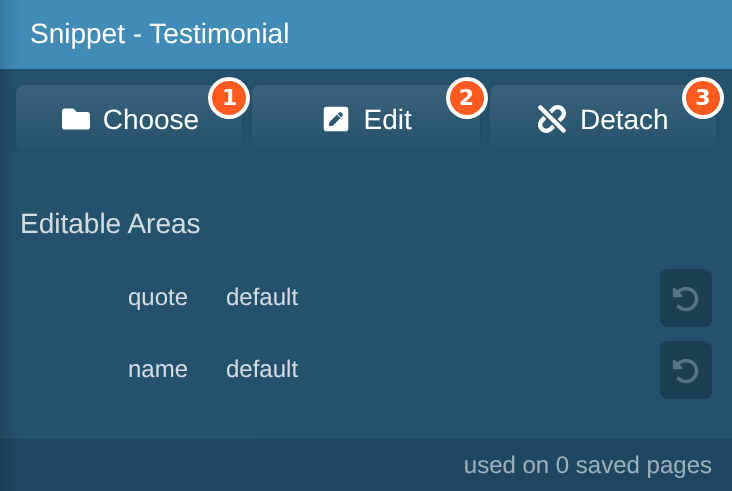
Choose swaps it for a different snippet.
Edit changes the snippet itself, on every page. See below.
Detach turns it into an ordinary copy on this page only, so it no longer changes with the snippet.
The bottom line shows how many saved pages use the snippet.
Editable areas
Some snippets have editable areas, shown with a dashed outline on the page and listed in the snippet tools. You can change the words in an editable area on this page only, without changing the snippet anywhere else. A customer quote snippet, for example, might keep its design the same everywhere but let you type a different quote on each page.
The button beside each area in the list puts it back to the snippet's own words.
Changing a snippet everywhere
Click the snippet on any page that uses it, then click Edit in the snippet tools.
The top of the panel changes to Editing Snippet. Make your changes.
Click the save icon to save the snippet. Every page that uses it changes straight away.
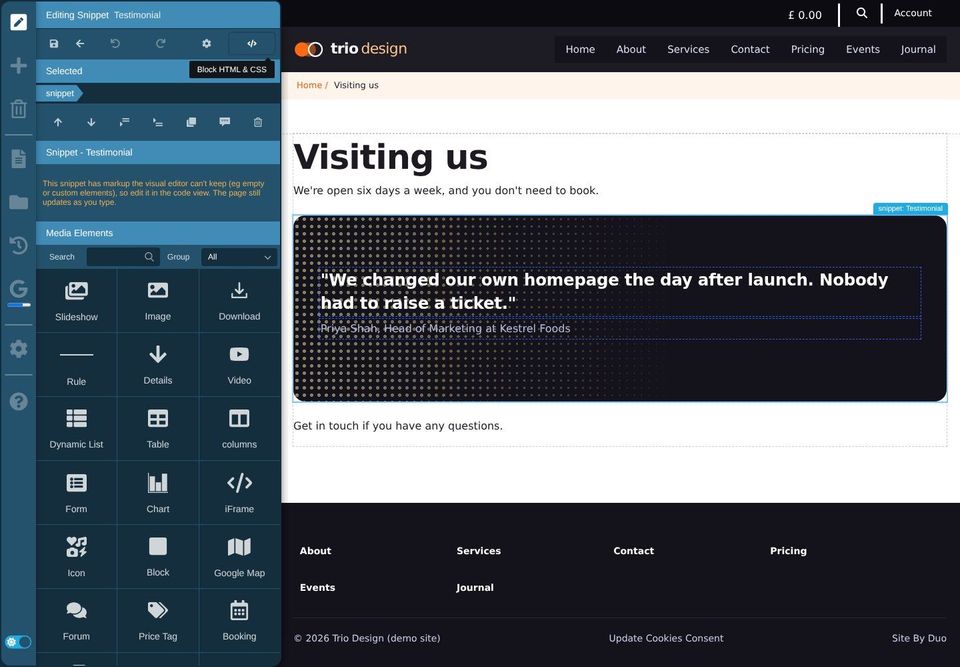
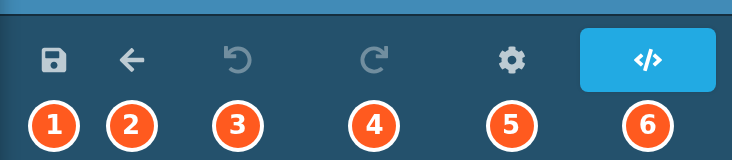
Save the snippet.
Back to editing the page.
Undo.
Redo.
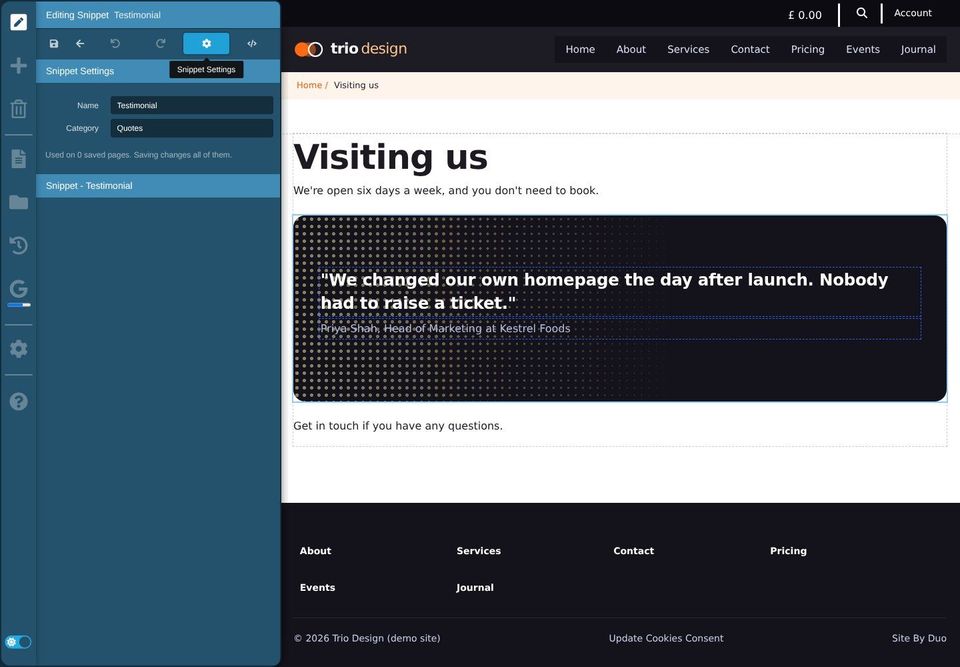
Snippet Settings: its name and category.
HTML and CSS: the snippet's code.
Some snippets have parts the visual editor can't handle. For those, a message in the panel says so, and the snippet can only be changed in its code. Ask your web designer to make changes like this.
Before you save, check the snippet's settings to see how many pages use it. Your change will show on all of them.
Making a new snippet
Click in the part of the page you want to reuse, such as a block or a set of columns.
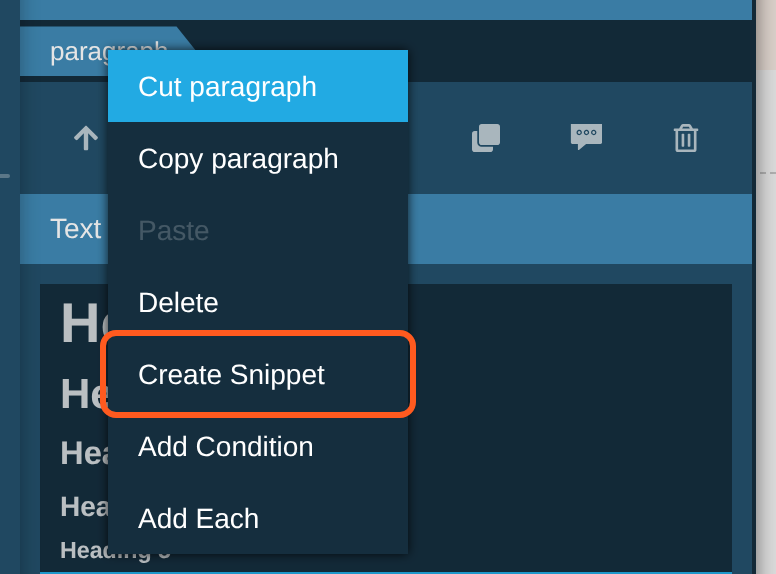
Right-click its name in the Selected bar, and choose Create Snippet.
Give the snippet a Name, and a Category to group it with others, such as "Quotes".
Click Create.
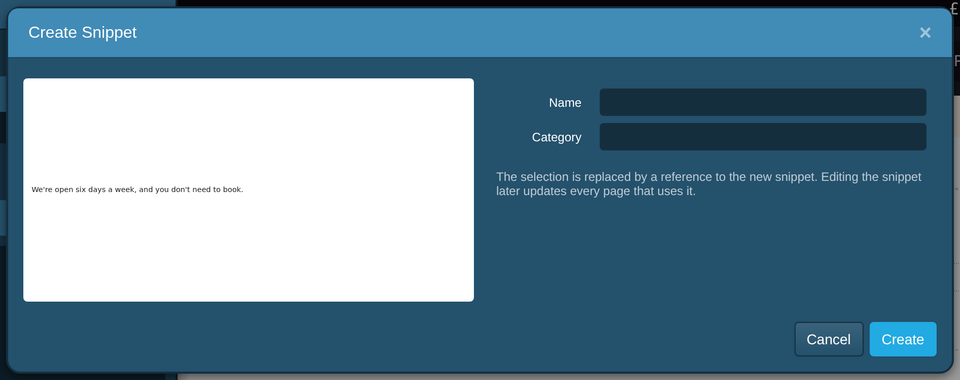
The part you selected becomes a reference to the new snippet, and you can now add it to other pages.