This chapter covers putting pictures on a page, from your file library or straight from your computer, and giving each one a description. Editing images covers sizing, captions, cropping and styles.
Adding an image from the file library
Open the page for editing.
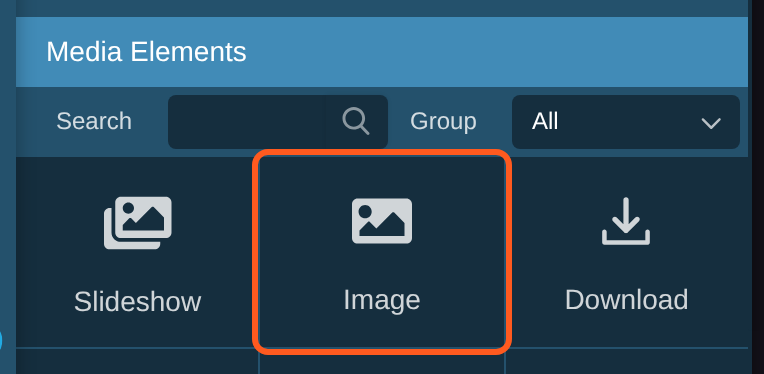
Scroll down the editing panel to Media Elements, and find the Image tile. You can type "image" in the Search box to find it quickly.
Drag the Image tile onto the page, and let go where you want the picture to go.
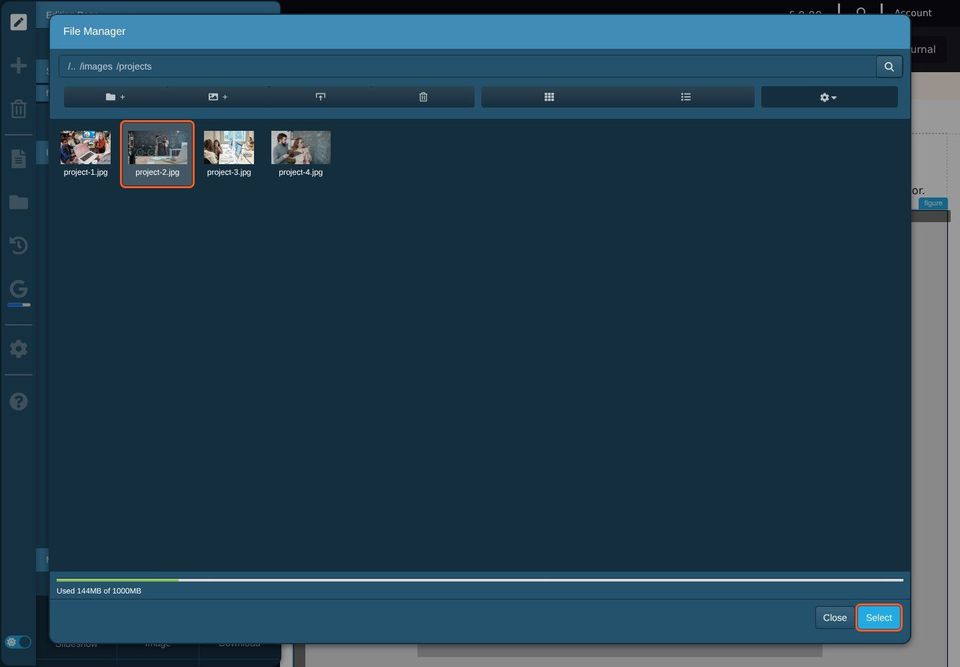
The File Manager opens. Double-click a folder to open it, click the picture you want, then click Select.
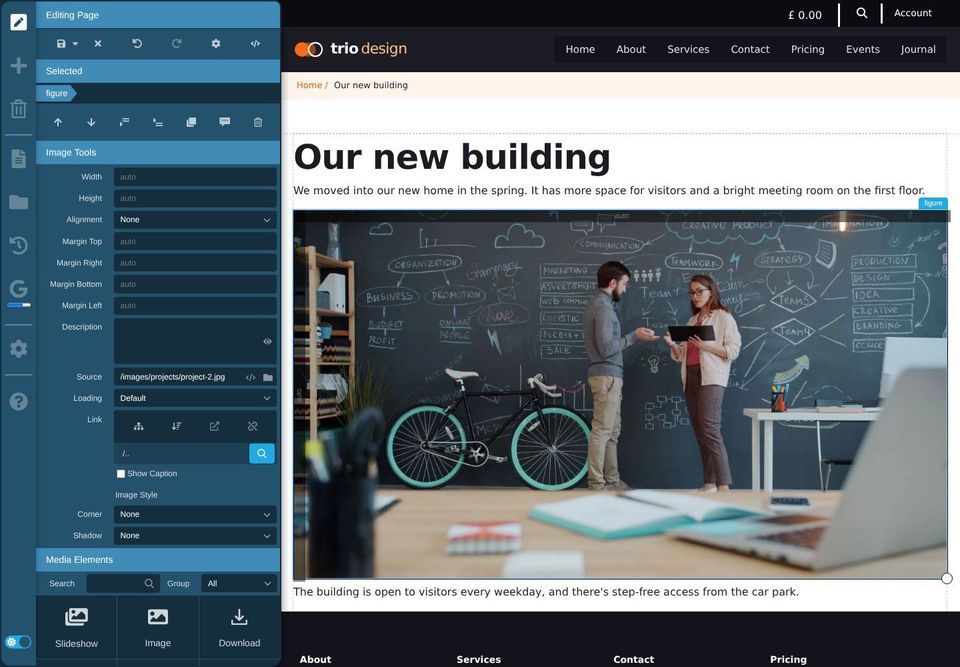
The picture goes onto the page at full width, and the Image Tools appear in the editing panel.
Adding an image from your computer
You can also drag a picture straight from a folder on your computer onto the page.
Open the page for editing.
Drag the picture file from your computer onto the page, where you want it to go.
The Choose Upload Location window asks where to keep the file in your library. Double-click folders to find the right one, then click Upload Here.
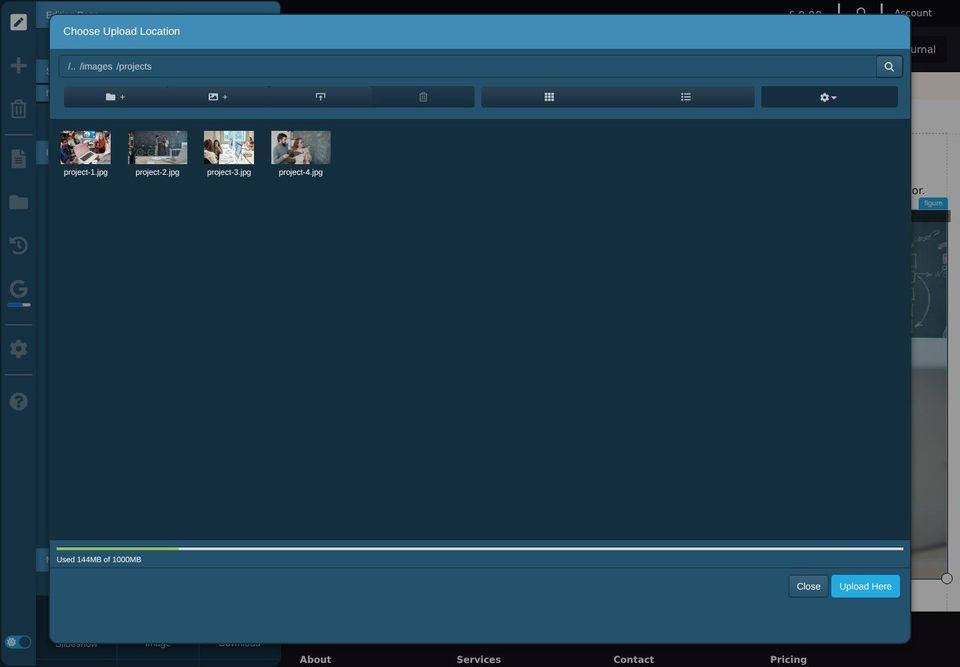
The picture is added to your file library and to the page. Very large photos are made smaller automatically when you upload them.
Keep your library tidy by putting pictures in folders that match your site, such as one folder per section. It makes them much easier to find later. The file library chapter shows how to make folders.
Describing the image
Every picture needs a short description, sometimes called alt text. Screen readers read it out to people who can't see the picture, and search engines use it to understand the page. It also shows if the picture can't load.
Click the picture, then type the description in the Description box in Image Tools.
Say what the picture shows, in a sentence, for example "Two colleagues talking in front of a chalkboard wall".
Don't start with "image of" or "picture of". Screen readers already say it's an image.
If the picture contains words, such as a poster, include the words.
If your website has AI tools turned on, the eye button beside the box suggests a description for you. Always read it and correct it before you save.
Replacing an image
Click the picture on the page.
In Image Tools, click the folder icon at the end of the Source box.
Choose a different picture in the File Manager and click Select.
The new picture keeps the old one's size, alignment and style. Check its description still fits.
Making an image smaller
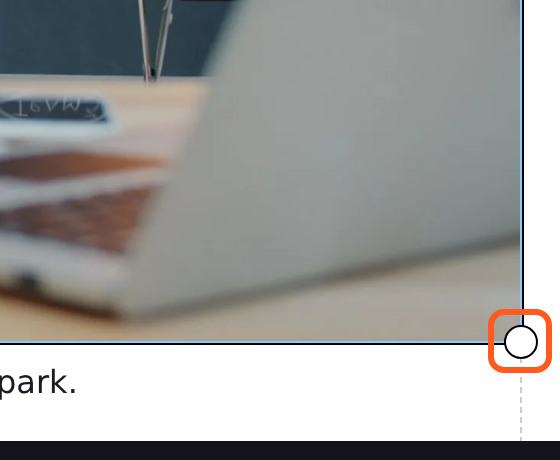
Click the picture, then drag the round handle at its bottom right corner. The picture keeps its shape as you drag.
For exact sizes and for wrapping text round a picture, see Editing images.
Removing an image
Click the picture, then click Delete (the bin) in the Selected bar. This only takes it off the page. The file stays in your library, so you can use it again.