This chapter covers arranging a page: columns to put things side by side, blocks to make a band with its own background, lines to divide sections, and tables.
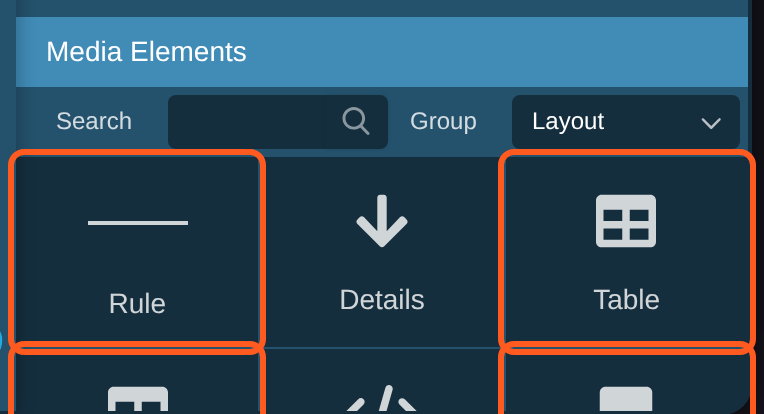
All of these are in Media Elements, at the bottom of the editing panel. Choose Layout in the Group menu to see just the layout ones. To add one, drag its tile onto the page and let go where you want it.
Columns
Columns put text, pictures and other things side by side. On a phone, they stack one above the other so everything stays readable.
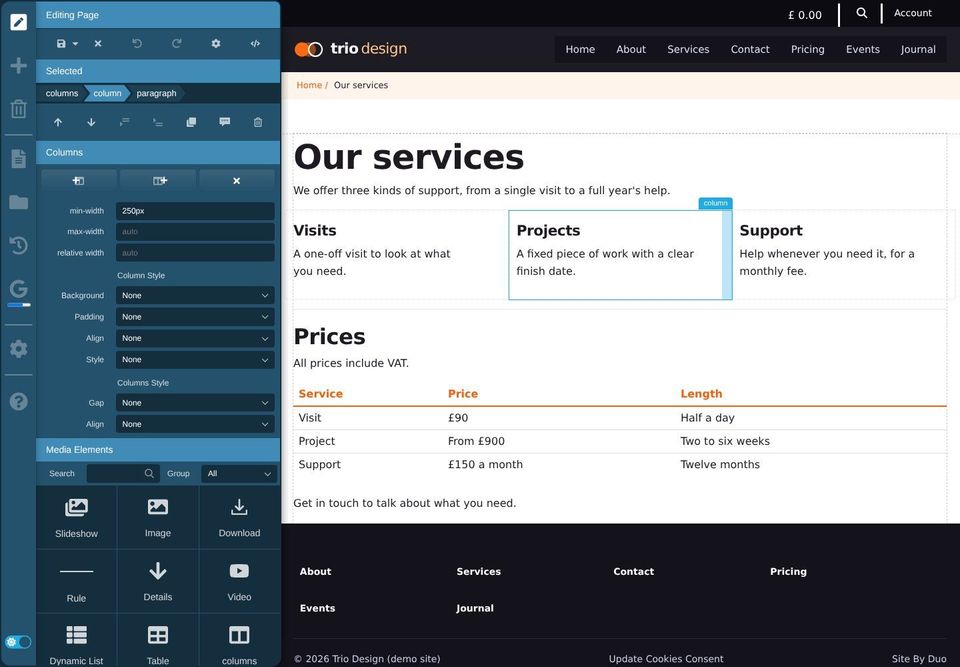
Drag the columns tile onto the page. Two columns appear, each with the words "New Column".
Click in a column and type, or drag pictures and other elements into it.
To change the columns, click in one, then click column in the Selected bar. The Columns tools appear.
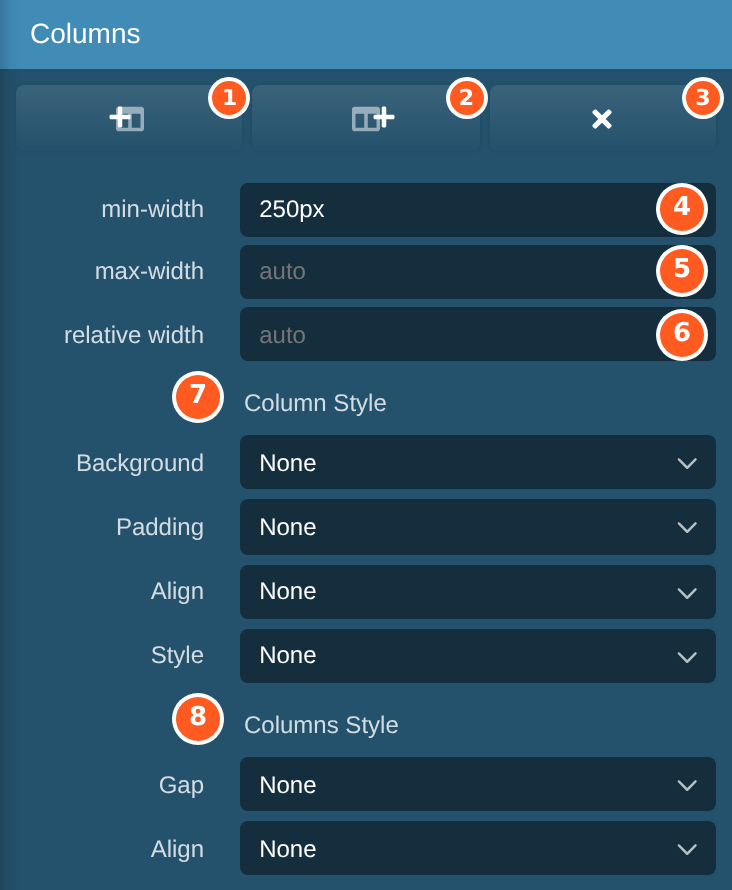
Add a column before the selected one.
Add a column after it.
Delete the selected column and everything in it.
min-width: the narrowest the column can be before the columns stack. For example,
250px.max-width: the widest it can be.
relative width: how much of the spare space it takes. A column set to
2is twice as wide as one set to1.Column Style changes the selected column's look, such as its background or padding.
Columns Style changes the whole set, such as the gap between columns.
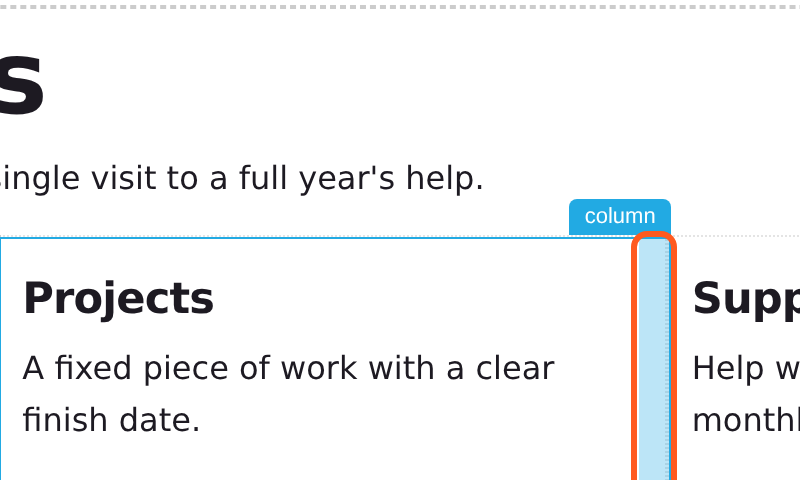
You can also drag the handle on the right edge of the selected column to make it wider or narrower.
The style menus you see depend on how your website has been designed.
To get out of a column and carry on typing below the columns, click columns in the Selected bar, then Add Space Below.
Blocks
A block is a band across the page with its own background, such as a coloured strip for a special offer. It can hold anything: text, pictures, columns and other elements.
Drag the Block tile onto the page. A block appears with the words "New Block".
Click in it and add your content.
To change the block's look, click in it, then click duoblock in the Selected bar. The Block tools appear.
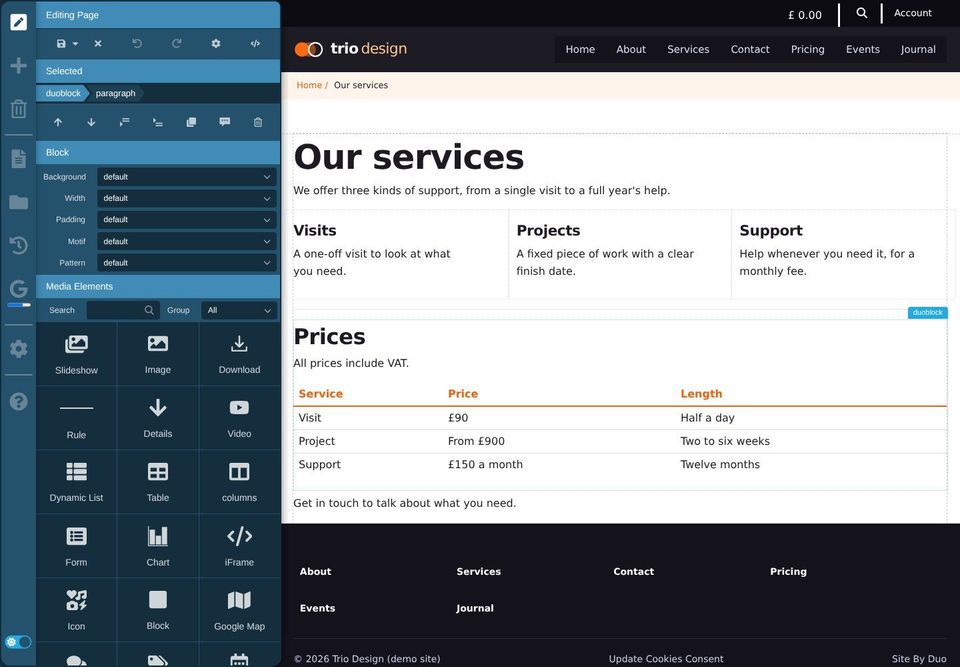
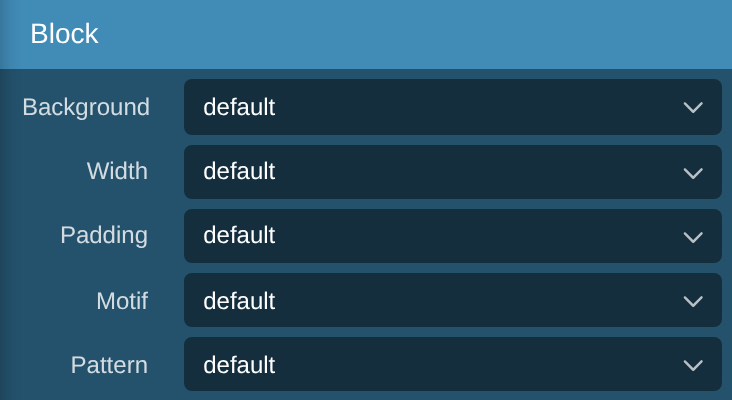
The Block tools list the looks your web designer has set up, such as background colours, widths and padding. Choose default to go back to the plain look.
What's in these menus depends on your website.
Dividing lines
Drag the Rule tile onto the page to add a line across it, for example between two sections. Click the line and press Delete in the Selected bar to remove it.
Tables
Use a table for information in rows and columns, such as prices or opening times. Don't use tables to lay out a page: use columns instead, because tables don't fit on phones.
Drag the Table tile onto the page. A table with a heading row and two rows appears.
Click in a cell and type.
To change the table, click in it, then click table in the Selected bar.
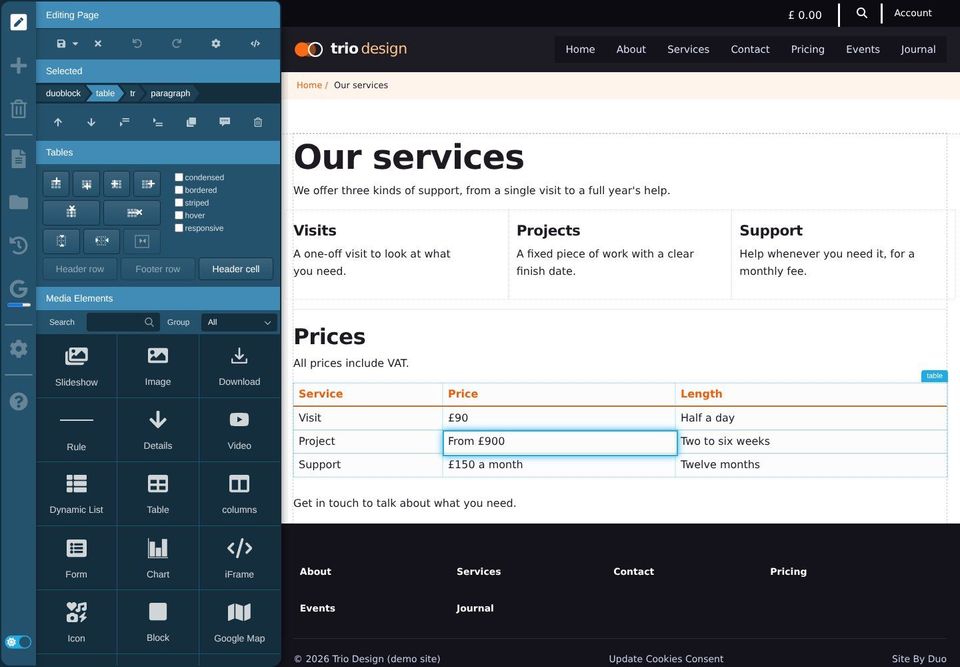
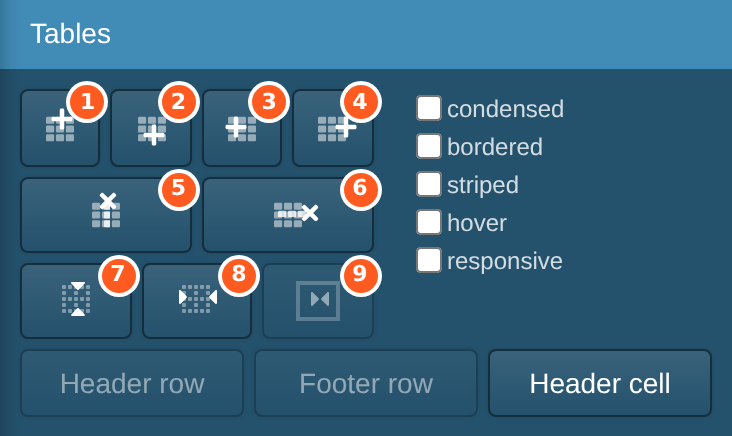
Add a row above.
Add a row below.
Add a column to the left.
Add a column to the right.
Delete the column.
Delete the row.
Split the cell in two, side by side.
Split the cell in two, one above the other.
Merge cells. Select several cells first by dragging across them.
The tick boxes change the table's look: condensed makes the rows tighter, bordered adds lines round every cell, striped shades every other row, hover highlights the row under the mouse, and responsive lets a wide table scroll sideways on a phone.
Header row, Footer row and Header cell make the selected row or cell a heading, which stands out and helps screen readers.
You can copy cells from a spreadsheet such as Excel and paste them into a table. Make the table the right size first, click in the top left cell, then paste.